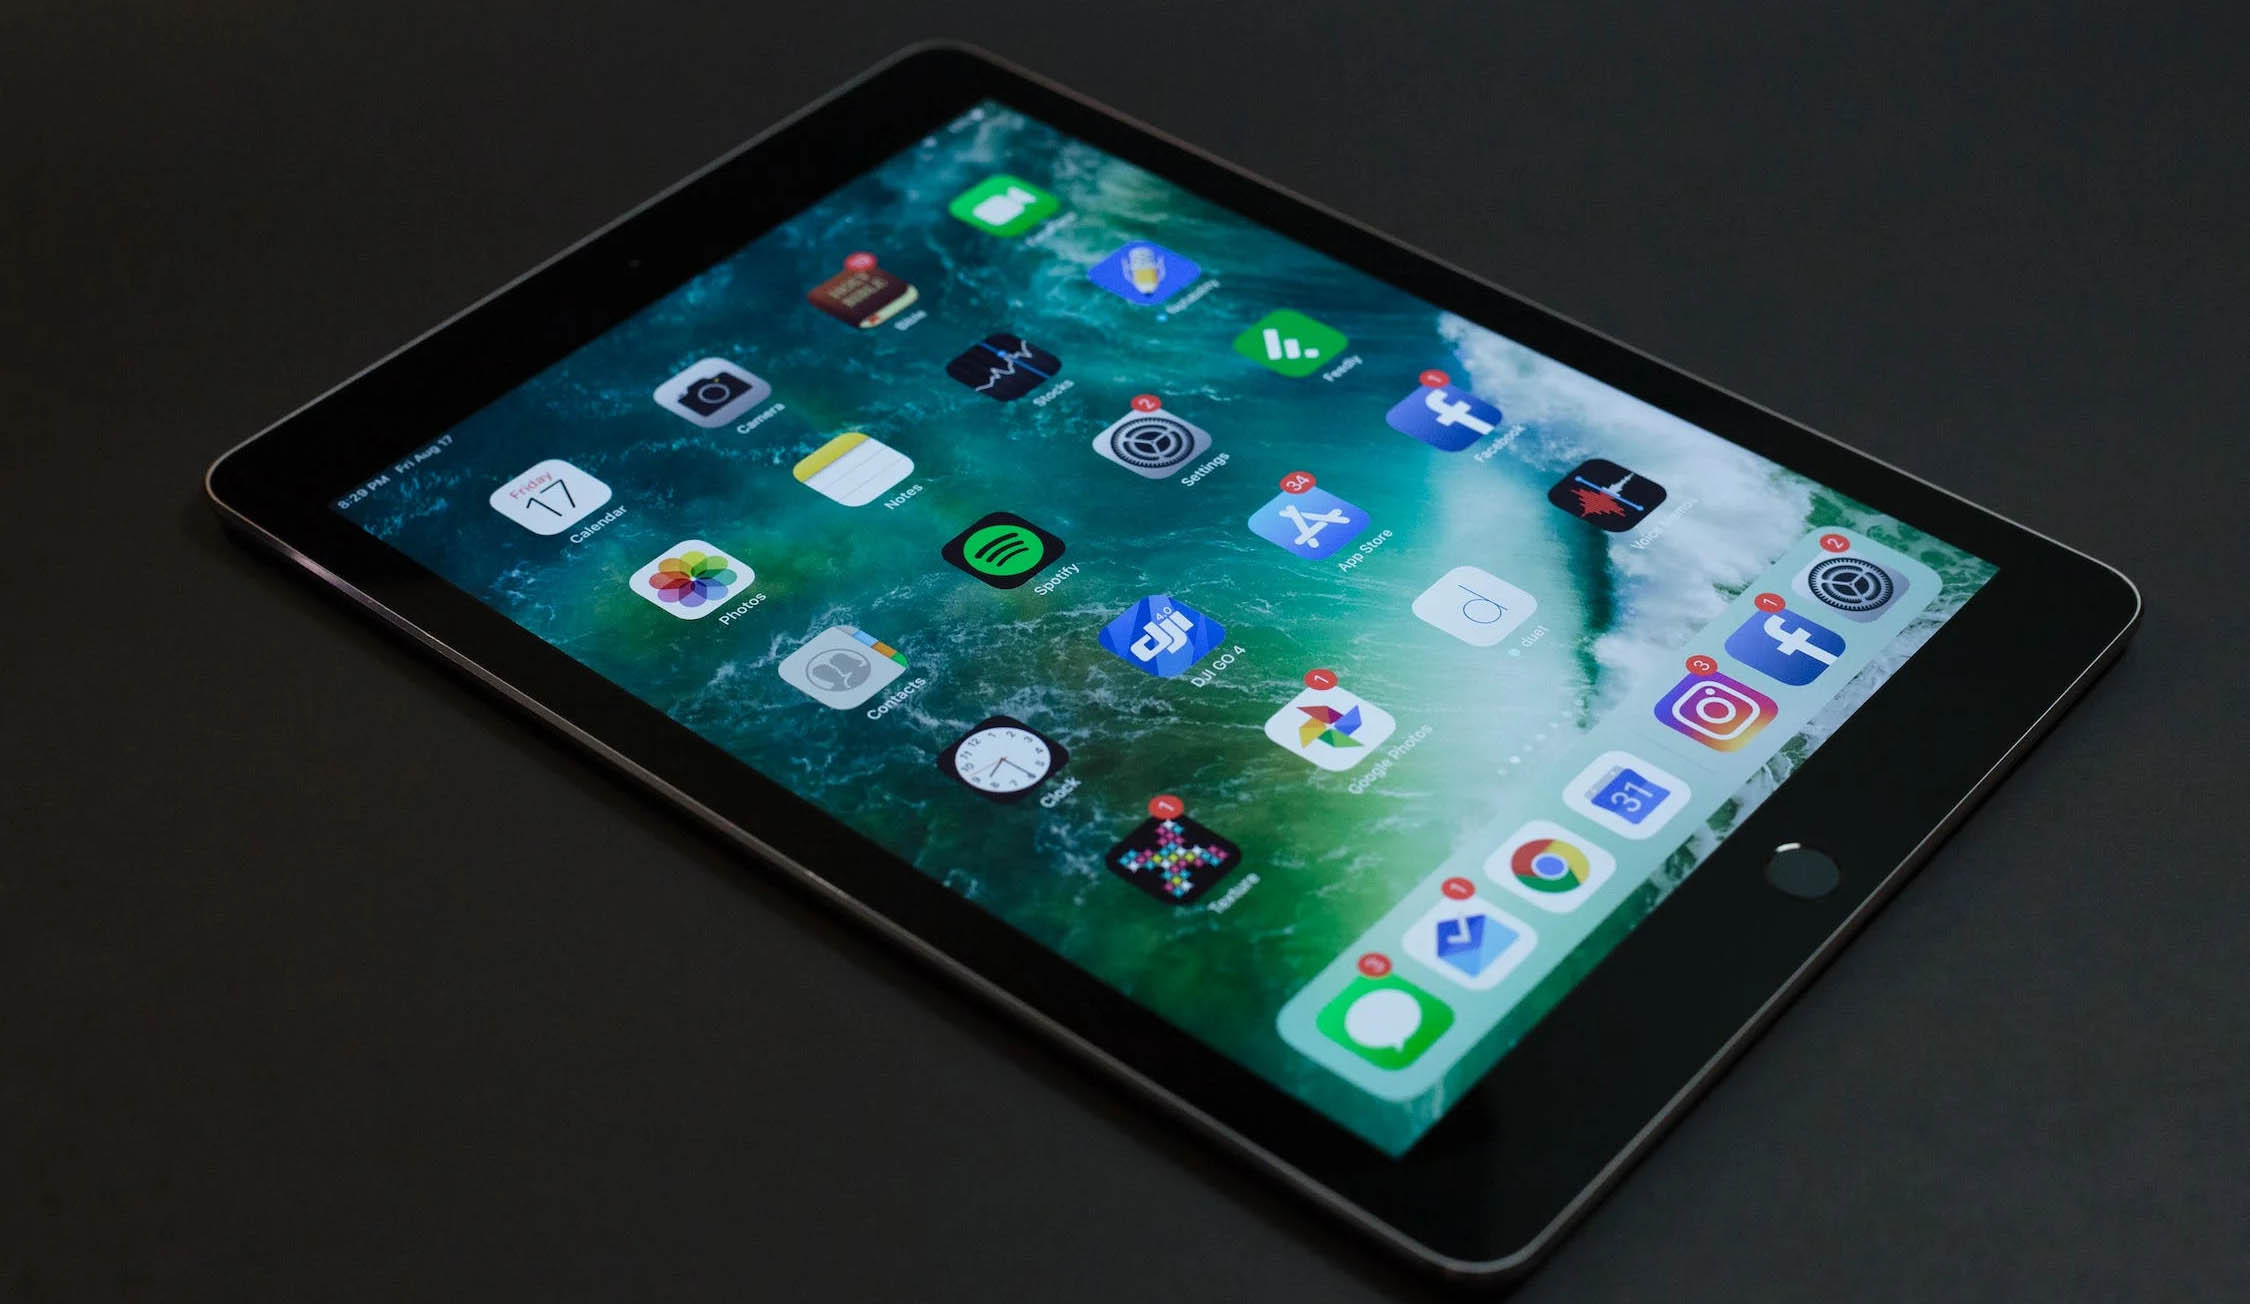
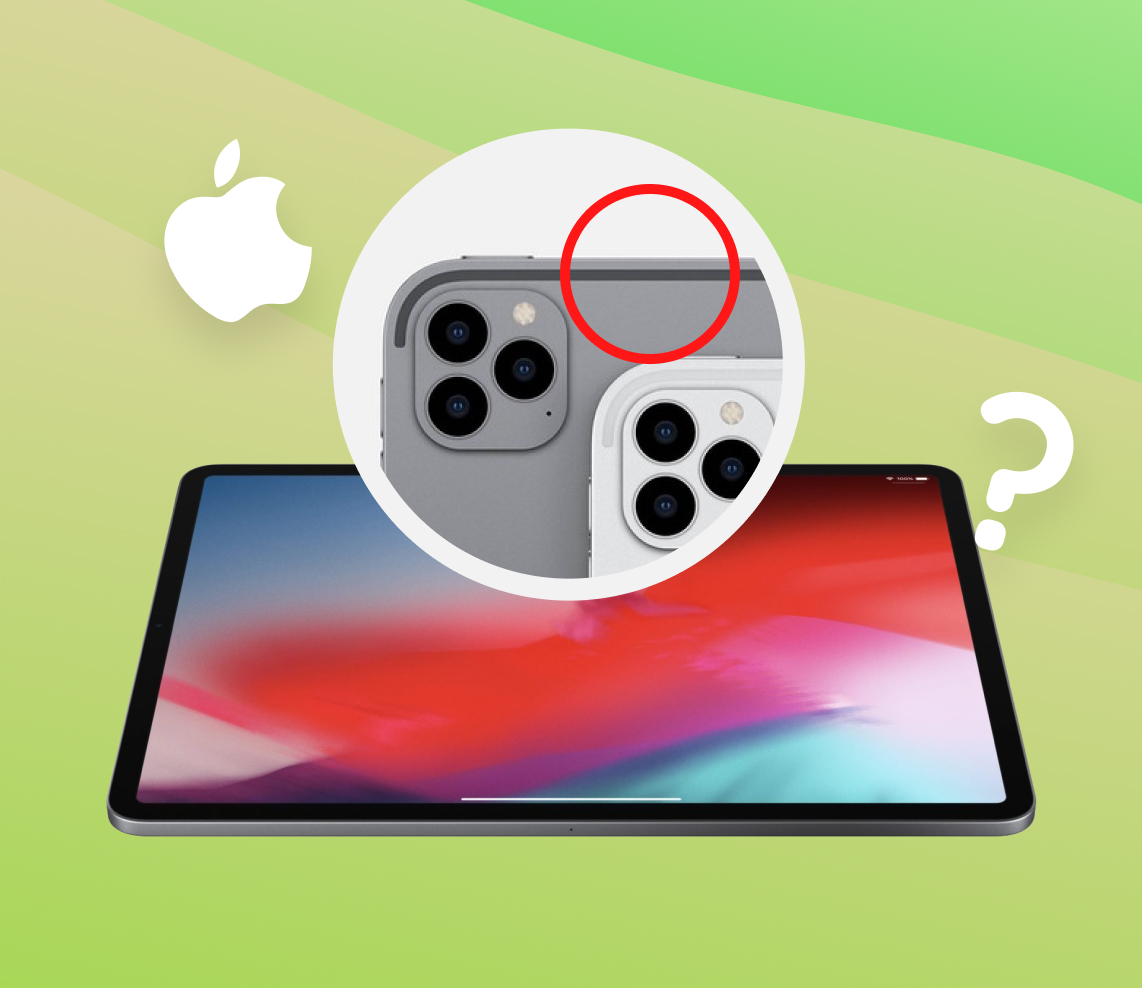
Your iPad is an incredible piece of equipment. It offers users a combination of cutting-edge technology in a mobile device that can be used virtually anywhere. The iPad’s diverse functionality lets you work on spreadsheets, watch a movie, or engage in personal communication via apps like FaceTime.
Every iPad has at least one built-in microphone. The mic or mics appear as small pinholes and are suitable for recording audio and video. You might want to use an external mic to record high-quality audio for streaming purposes.
To obtain the best communication performance, you need to know where the mic is on an iPad. Without this information, you might inadvertently cover it up and degrade its ability to capture and record sound. So let’s look at all the various iPad models and see where their microphones are located.
How to Find the Location of the Microphone on an iPad
While every iPad has at least one microphone, they are in different locations depending on the model and generation you are using. The user manual included with your device should provide a diagram that indicates the iPad’s microphone location as well as any other controls or buttons available to the user.
Every iPad Model Microphone Location Breakdown
Let’s find out where the mic is on your iPad based on the model of the device and its specific generation. Apple has not standardized the location or number of microphones that are included with the various types of iPads on the market.
![]()

iPad Mic Location
The iPad was first introduced to the world in 2010 and has gone through ten generations of development. The number and location of the microphones on the iPad have changed over the years.
- iPad 1st through 4th generation devices have a single microphone located at the top of the iPad.
- iPad 5th and 6th generation models have one mic located on the rear of the device.
- iPad 7th, 8th, and 9th generation models come equipped with two microphones. One is at the top of the device and the other is next to the rear camera.
- iPad 10th generation has dual microphones for calls, video recording, and audio recording. They are located on the top of the device and near the camera.
iPad Mini Mic Location
Apple has made six generations of the iPad Mini. All but the initial version have two microphones.
- iPad Mini 1st generation has one microphone at the bottom of the device.
- iPad Mini 2nd generation through iPad Mini 6th generation have two mics with one located near the top of the iPad and the second next to its camera.
iPad Pro Mic Location
The number and location of microphones on iPad Pros are determined by the size of the device and its development generation. The iPad Pro comes in four sizes, 9.7”, 10.5”, 11”, and 12.9”. Let’s see how the mics are distributed among the various sizes of iPad Pros.
- All generations of 9.7” and 10.5” iPad Pros are equipped with two microphones. One is located at the top of the device and the other one is next to the rear camera.
- All generations of the 11” iPad Pro have five microphones. Three are located at the top of the device. The fourth mic is on the left side of the iPad and the last microphone is next to the camera.
- The first two generations of the 12.9” iPad Pro have two microphones. One is located at the top of the iPad and the second is next to the camera. Subsequent releases including the 12.9” iPad Pro 6th generation have five cameras configured in the same way as the 11” model. Three on top, one on the left side, and one next to the iPad’s camera.
iPad Air Mic Location
The location of the iPad Air microphones has remained consistent from its introduction to the newest model, the iPad Air 5th generation. The devices have two mics, one located on the top and the second on the back of the iPad Air.
FAQ
Yes, external microphones can be connected to an iPad. Since newer iPads do not have a headphone jack, the connectivity will be made through the device’s Lightning connector.
You can adjust your iPad’s mic volume using the following steps.
- Open Settings.
- Navigate to Sounds and open it.
- Activate the Change with Buttons option.
- Use the buttons on the side of the iPad to adjust the mic’s sensitivity.
You can test the clarity of your iPad mic by recording a short video or using the Voice Memo app. If the microphone does not exhibit the desired performance, you may need to change its volume as in the steps outlined above. You should also make sure nothing is blocking access to the mic that would affect its ability to capture sound.
You can attempt to clean an iPad microphone by removing any obstructions that affect its performance. Suggestions include using a soft-bristled toothbrush or a small paintbrush to sweep away dust. You can also try a can of compressed air to blow away debris. The goal is to remove any obstructions without damaging the microphone.
Conclusion
There is definitely a microphone available on your iPad no matter its model or generation. The built-in microphone should be sufficient for most tasks unless you have reason to record very high-quality sound. In those cases, you might want to consider an external microphone.
We’ve shown you how to find your iPad’s mic so you can be sure it is not accidentally blocked during use so it doesn’t produce degraded sound quality. Now you can enjoy all of the features available in the mobile and advanced technology that is the iPad.
