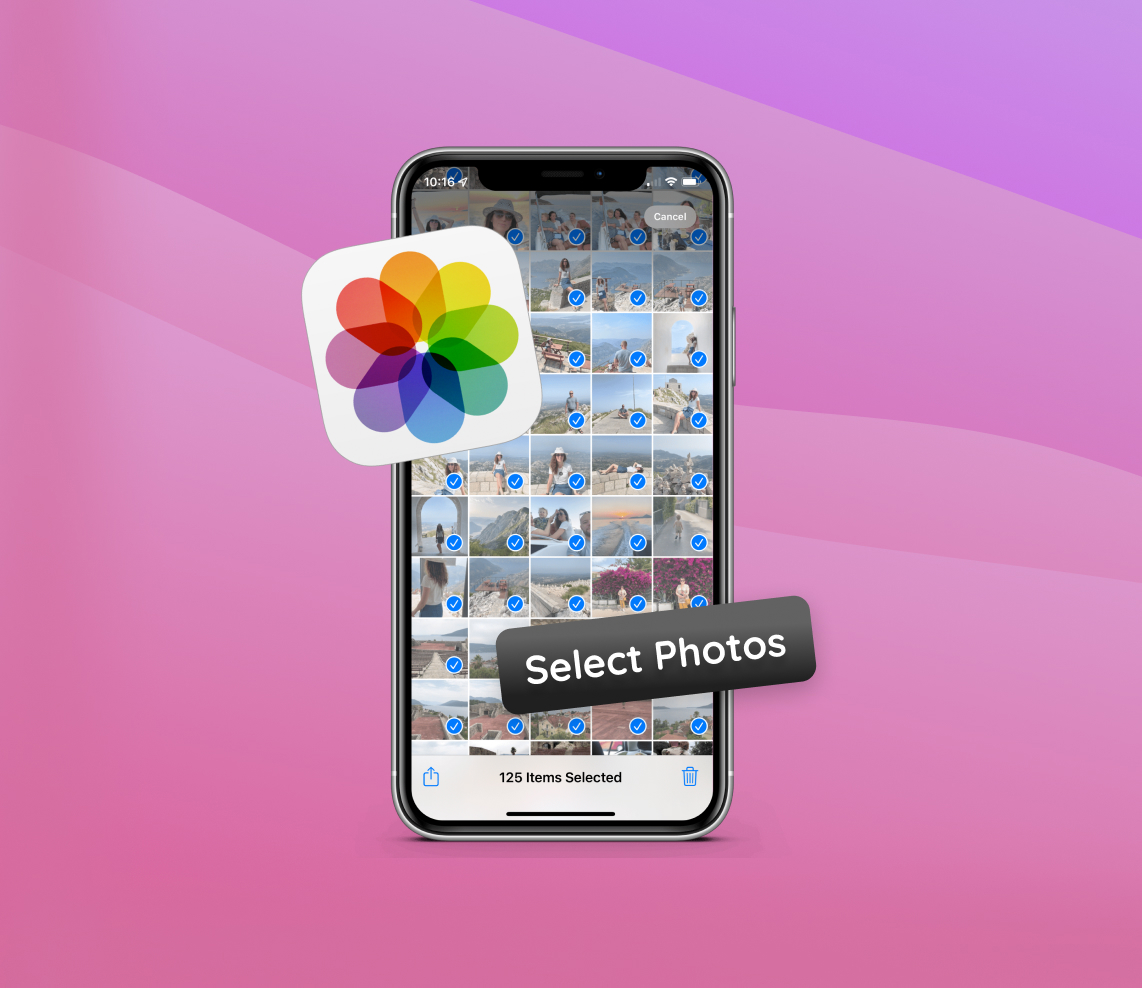
In today’s digital age, iPhones have not only transformed the way we communicate but also how we capture and store memories. As these devices become our primary cameras, the task of handling a growing number of photos becomes a challenge. Efficiently managing these digital memories is paramount. This article delves deep into the world of iPhone photography, presenting a step-by-step guide on how to seamlessly select all photos on your device. Through this guide, readers will gain insights into the iPhone’s Photos app and the importance of structured photo organization.
So, how exactly do you manage and select photos on your iPhone? Let’s dive into the step-by-step guide.
How Do I Select All Photos on iPhone: Step-by-Step Guide
Modern iPhones are more than just communication tools. They serve as our personal cameras, capturing cherished memories and moments. The iPhone’s Photos app is designed to help users easily navigate and manage these captured memories. But as our photo libraries grow, so does the importance of organizing them efficiently. This guide will explain built-in features for selecting and managing photos.
Step 1: Accessing the Photos App and Albums
To start, let’s dive into how to access your photos:
- Unlock your iPhone and navigate to the home screen.
- Find and tap on the Photos app icon. It resembles a multi-colored flower.
- Once inside the app, you’ll see tabs at the bottom. Tap on”Albums” to view all your photo albums.

Step 2: Initiating the Selection Process
Now that you’re in your desired album, it’s time to begin the selection process. At the top right corner of the screen, you’ll notice the word”Select.” This button allows you to start the photo selection process, helping you manage, organize, or delete multiple photos simultaneously.
Step 3: Mass Select Photos on iPhone Using Drag
One of the easiest ways to select multiple photos on iPhone is by utilizing the drag feature:
- After pressing”Select,” simply tap and hold on one photo.
- Without lifting your finger, drag it across other photos to add them to your selection.
- You can drag up or down to select rows of photos or move diagonally to mass select photos on iPhone in an intuitive manner.

You can also tap individual photos to add or remove them from your selection.
Step 4: Organizing the Selection: Albums, Favorites, and Sharing
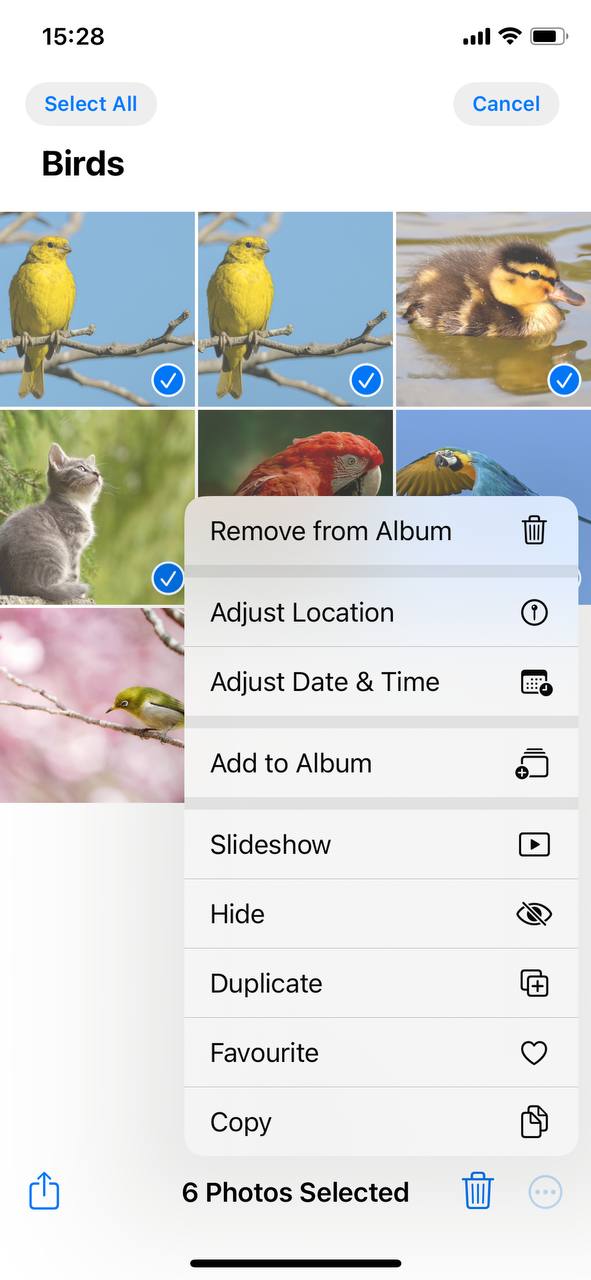
After you’ve made your selection, a series of icons will appear at the bottom of the screen. Here’s how to use them:
- Triple dots: Tap the”Add to” icon, which looks like a”+” sign inside a folder, to move your selected photos to an existing album or create a new one. If you’d like to mark photos as favorites, tap the heart icon. These photos will automatically be added to the”Favorites” album for quick access later. If you wish to keep certain photos private, use the ‘Hide’ option. This removes them from the main library view but still keeps them in the ‘Hidden’ album.

- Sharing: The square icon with an arrow pointing up allows you to share photos. Tapping this will open a menu with sharing options like messaging, mail, or social media platforms.
- Delete: If you no longer need certain photos, tap the trash can icon to delete them. Remember, they’ll first be moved to the ‘Recently Deleted’ album, where they stay for 30 days unless you manually delete them from there.
Organizing and managing photos on your iPhone doesn’t have to be a daunting task. The built-in tools and gestures make the selection process intuitive and efficient, ensuring you can always find that perfect memory when you need it.
Select All on iPhone Photos: Additional Tips and Tricks
Managing vast libraries of memories captured on our iPhones can sometimes become a task. But with Apple’s in-built features and some stellar third-party apps, the process can be made more straightforward and efficient.
Features and Apps for Efficient Photo Management
| Method | Description | Benefits |
| ? Siri | Apple’s voice assistant for various tasks, including photo-related commands. | Quick access to photos from specific dates or events. Hands-free operation. |
| ? 3D Touch | Feature available in certain iPhone models allowing users to”peek” and”pop” into photos. | Faster photo reviewing before selection. Enhances user experience with photos. |
| ? Slidebox | Third-party app for quick photo sorting and album organization. | Intuitive controls, delete unwanted photos swiftly, organize into albums. |
| ? HashPhotos | Third-party app with features like drag-and-select and easy album management. | Streamlines the photo selection process, easy album categorization. |
Before downloading any third-party app, always review their privacy policies to ensure the security of your personal photos. With the right tools and knowledge, managing and selecting photos on your iPhone can become a seamless experience.
Conclusion
The iPhone’s Photos app, with its myriad of features, is designed to cater to the modern user’s ever-growing photo collection. As showcased in this guide, understanding and utilizing these features can dramatically improve one’s photo management experience. Efficient organization ensures that moments captured are not lost in the digital abyss, but rather are easily accessible and ready to be relived. In an era where every moment is a potential memory to be captured, mastering the art of photo organization on your iPhone is not just a skill, but a necessity. So, make the most out of your Photos app, and ensure that each memory is cherished and easily retrievable.
FAQ
In iCloud Photos on a desktop browser, navigate to your photos and click on the first photo you want to select. While holding down the ‘Shift’ key on your keyboard, click on the last photo. This will select all photos in between the two clicks. On iOS devices, currently, there isn’t a single button to select all photos at once in the Photos app, but you can drag your finger across photos to select multiple at a time.
No, the iPhone does not have a “Select All” feature for all photos. However, you can quickly select all photos in a single album by opening it or the “Photos” tab, tapping “Select,” and then you may see “Select all” button.
Yes. If you have multiple photos selected on your iPhone, tapping on the selected photos will deselect them. If you’ve selected photos consecutively by dragging your finger, lifting your finger and tapping any selected photo will also deselect them.
There could be several reasons you can’t select certain photos:
- The photo is in a shared album, and you don’t have editing permissions.
- It’s a synced photo from a computer and not stored in iCloud.
- The photo might be in the process of being uploaded to or downloaded from iCloud.
- There might be restrictions set on your device that prevent changes.
If you are still having trouble, ensure your iOS is up-to-date, or consider reaching out to Apple Support for further assistance.
